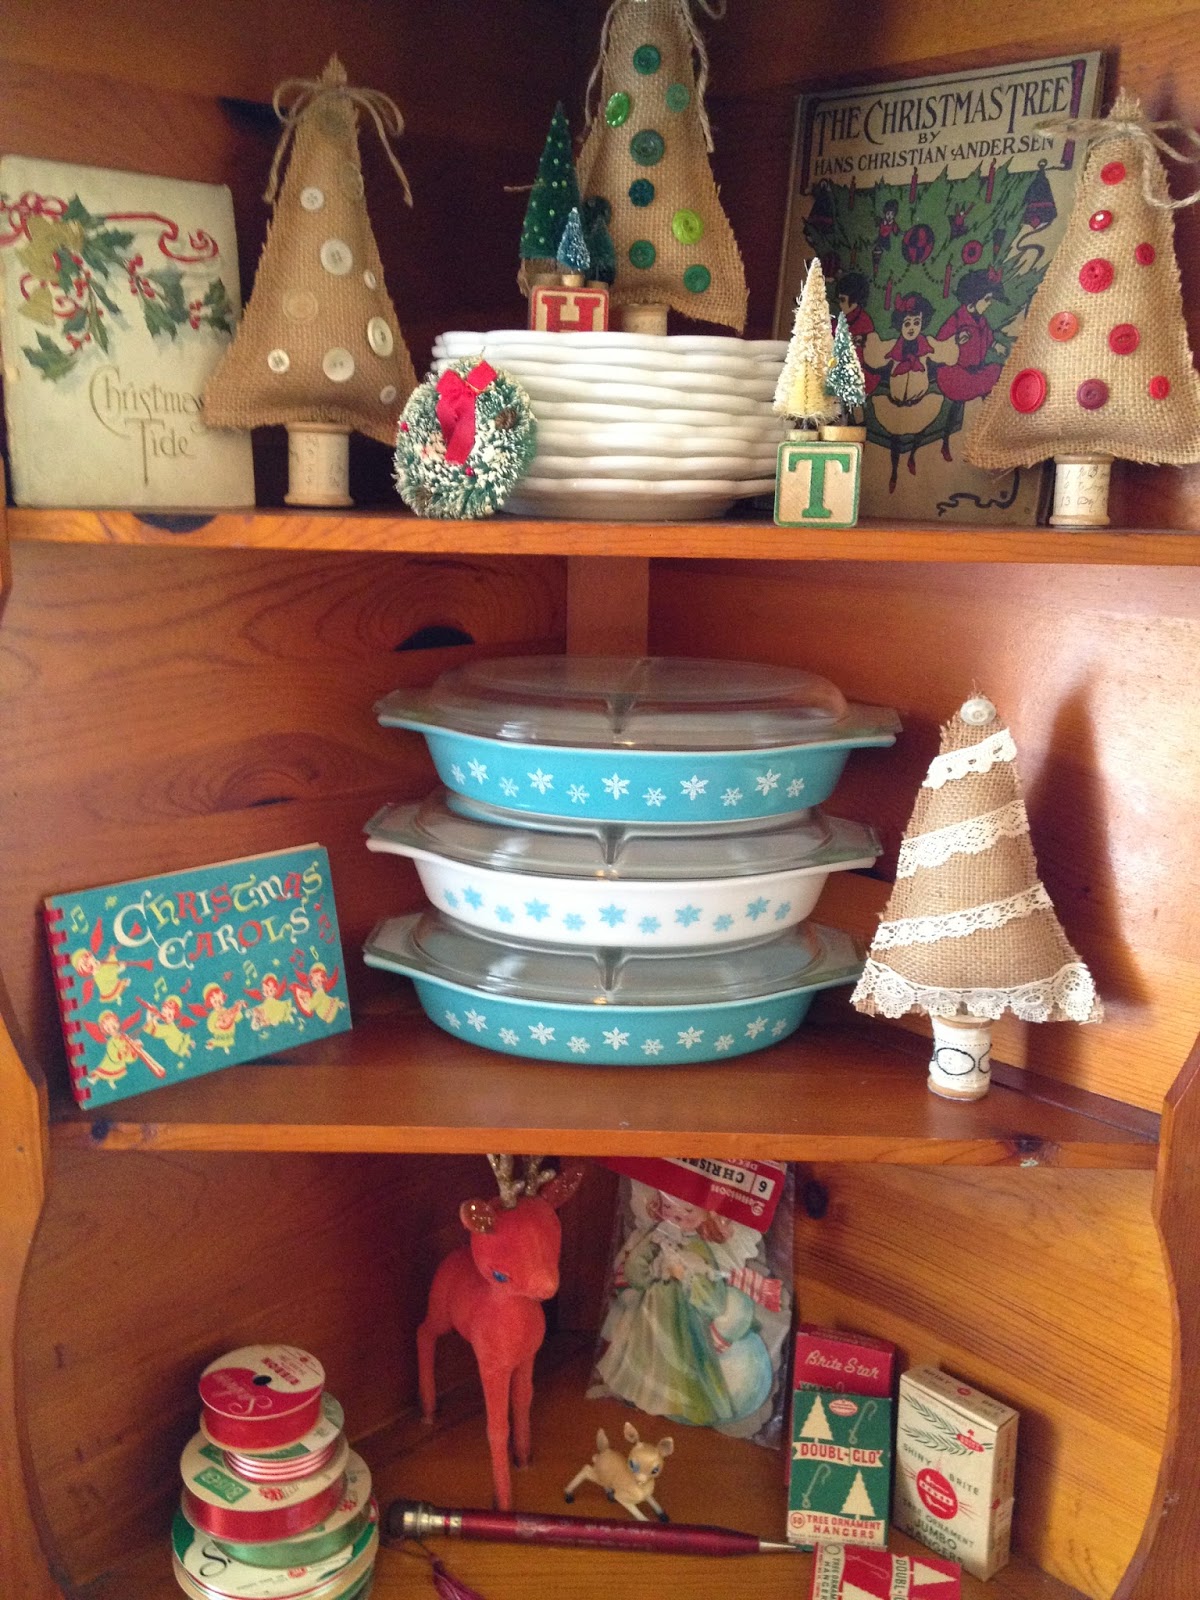
This is a repost from 2012. I thought it was good enough to share once more.
A few years ago I made several things out of burlap. My favorite of all of those projects was these little fabric trees. This idea was one that I came up with on my own and it is one of my craft projects that I am the most proud of. I still receive compliments from friends about these trees when they are taken out of storage and put on display for the season.
The trees are fairly easy to make. I am not an excellent seamstress to say the least, so if I say that these are easy then you can trust me. To make them I used tan & red burlap and decorated them with various vintage buttons and laces. That is the funnest part - choosing how the tree will be embellished! The trunk of each tree is a wooden thread spool.
Burlap isn't the only fabric that you can use. I also made trees out of some old bedspreads I had on hand. (shown below). The white tree is made of chenille.
I'm sharing how I made these in case you are interested in trying one yourself. Although it is much easier to buy someone a gift - I believe that making something with your own hands as a gift for someone else is such a sweet expression of love and kindness. With time at a premium, spending time to make something shows the recipient that you care enough about them to give of your time and talents. Trust me when I say that a handmade gift will be cherished for years to come much more so that something bought at a store.
Chenille & green tapestry fabric - both found at a yard sale.
I didn't take any pictures showing these being made but I can give you some simple directions if you want to try making these on your own.
You will need:
Fabric of choice
12" piece of 20 gauge wire
1 wooden thread spool
small piece of felt
Hot Glue
Laces, buttons & trims for decorating
To begin I drew a triange/tree shape - on a piece of paper and used that as my pattern. Make it as small/large as you like. I traced the pattern onto the material. Cut two pieces of material for each tree. Sew the two pieces together - leaving an opening for stuffing the tree later. For the burlap I sewed the pieces together WRONG sides together and just trimmed the material close to the seem when finished - leaving a raw edge. For the other materials I sewed the trees RIGHT sides together and then turned them right side out when sewn. Stuff the trees with fiber fill. I then inserted a wire into the center of each tree - sort of like a trunk. The wire should stick out about an inch from the bottom of the tree. Sew material closed - keep the wire sticking out.
Now, take your wooden spool and cut a piece of felt to cover the bottom of the spool. Attach with glue. Now fill the hole in the spool with hot glue. Insert the wire from the tree into the hot glue - this keeps the tree stable enough to stand on it's own. Let dry. You can now decorate the tree with trims, ribbons & buttons as you wish. I also decorated my wooden spools with paper, twine & ribbons.
If you check my post Christmas 2014 you will spy my trees on display. They come out each year and I love them just as much today as I did when I made them.
Merry Christmas!
KayteeJane


